How Do I Remove Cured Potting Material For Electronics If Needed?
How Do I Remove Cured Potting Material For Electronics If Needed?
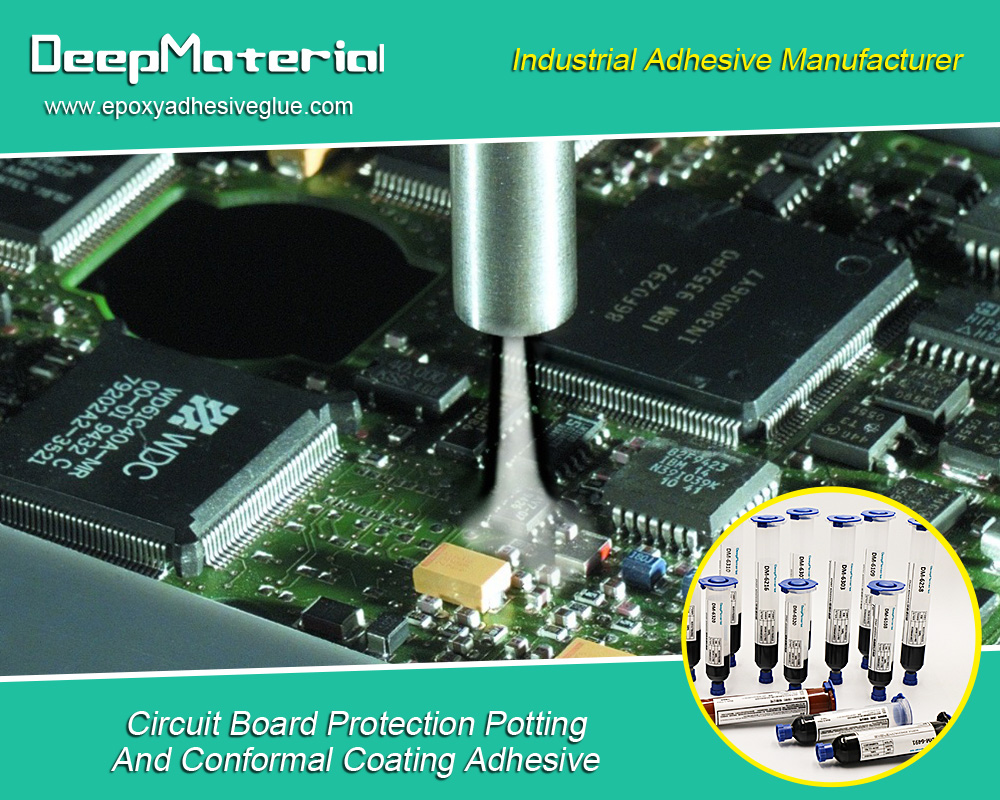
Protecting and insulating components from various environmental hazards is an essential part of ensuring the longevity and performance of electronics, which is why potting material – a semi-liquid or liquid that hardens over time – has emerged as a necessity. However, there may be times when it needs to be removed.
In this article, we’ll discuss the significance of getting rid of cured potting material and outline practical ways to do so with ease.
Understanding the Importance of Removing Cured Potting Material
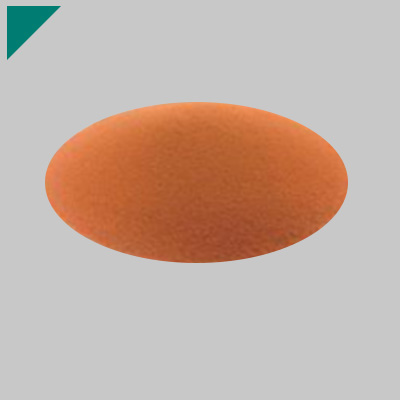
Once used on electronics, potting material can create all kinds of problems. First and foremost, it stops heat that’s created during operation from dissipating from dissipating. This means temperatures can build up fast and cause components to fail or, worse, lead to safety risks.
If you need a fix or replacement job done, pots of hardened potting resin will be sure to prolong the process as well as your wait time – not to mention hike up repair costs. All in all, it pays off big time if you get into the habit of removing any cured silicone before starting work on your computers’ insides.
Tools and Materials Needed for Removing Cured Potting Material
To effectively remove cured potting material from electronics, you will need the following tools and materials:
Heat gun or hot air blower: This handy tool gently loosens the potting material so it slides right out. It’s like a blessing from up above!
Chemical solvent: Depending on the potting material you make use of, a chemical solvent might be necessary to help break it down or make it soft.
Scraper or chisel: Utilizing these utensils, it’s a breeze to take out the loosened-up potting material.
Safety goggles and gloves: Shielding yourself from possible dangers throughout the elimination process is absolutely critical. You can’t be too safe, so make sure to look out for potential pitfalls and avoid them like the plague.
Preparing the Electronics for Potting Material Removal
Dang, don’t just dive right into ripping out that potting material! Take some precautions first – make sure to unplug and power off your electronics first. This will save you from any surprises during the process.
To add on, stick a piece of tape over anything extra sensitive or delicate to protect it while you dig around.
And if you really want to be safe, snap some photos or notes about the way everything’s set up so that when reinstalling, things are much less confusing.
Techniques for Removing Cured Potting Material
Removing cured potting material from electronics can be a tricky endeavor—determining the best way to go about it depends on what kind of potting material was used, plus any specific needs for the removal.
Heat softening through heat guns or hot air blowers is one tactic you could try: This warms up the substance so it’s easier to chop away at with chisels and scrapers.
You might also use solvents designed for that type of stuff, as chemical compounds vary depending on their makeup; if this is your choice, make sure you have all the details squared away first.
If not, manual removal methods are always an option; either way works better when complimented by techniques like heating or dissolving agents.
Using Heat to Remove Cured Potting Material
Just heat the potting material, and it’ll be as easy as pie to get rid of. All you have to do is fire up a heat gun or hot air blower and start passing it back and forth over the surface.
This will loosen the stuff; then it’s just a case of carefully scraping or chiselling off what you can with a light hand – nothing too vigorous; otherwise, your tech might get caught in collateral damage!
Take all the usual steps for safety, though – gloves and goggles are essential, just like keeping an eye on how hot your blaster gets. Don’t forget that either; less risk of damaging your precious electronics while you’re removing residue is always the best.
Chemical Solutions for Removing Cured Potting Material
It can be a real bummer to remove cured potting material, but luckily, chemical solvents are here to save the day! Each particular type of soluble will depend on which hardened bind you’re trying to handle.
Pay attention and follow the manufacturer’s directions closely for the best results – some things may need diluting while others have special requirements of their own.
Get that stuff slathered evenly over everything from above, and then these tools do wonders in prying away softened bits as needed until it’s scrubbed clean. Remember to watch your step safety-wise, though – no cutting corners when it comes to solvents, keep working in a well-airy atmosphere (no fumes inhalation!) and don’t forget those gloves/goggles at any cost.
Mechanical Methods for Removing Cured Potting Material
Caution is critical when removing cured potting material from electronics; mechanical methods such as scraping or chiselling can do the trick, but they must be done with care. To start, heat up or use a chemical solvent to soften the material – this will make it easier (though no less delicate) to tackle with your tools like scrapers and chisels.
Be sure not to apply too much pressure – you want these crafted pieces pristine. And different sizes and shapes of scrapers and chisels might come in useful for those awkward reaches. Just keep plugging away at it until all that hardened-up gunk is history!
Safety first, though – wear protective eye goggles and gloves so you’re protected against any hidden danger during the process. Keep an extra vigilant eye on how hard you press while pulling off that last bit of muck; play your cards right because we don’t want damaged electronics now.
Safety Precautions to Take When Removing Potting Material
When you’re laying your hands on delicate electronics, working out the potting material is a challenge. It’s essential for your safety – and for the sake of the device – that you take proper precautions. After all, it’s not worth risking injuries to get unfinished items up and running!
So, make sure that when removing any potting materials from electronic components, you’re in a well-ventilated area to protect yourself from hazardous fumes created by solvents or heat treatments.
If there’s cause for concern, do a respirator or mask to keep your lungs safe, too. Of course, eye protection like goggles and work gloves are essential – they’ll protect both hands and eyes against potential hazards during dismantling operations.
Be mindful of more than just chemicals, though; since extreme temperatures can easily damage sensitive substrates and parts, go ahead and play it safe with compatible solvents – this way, corrosion won’t be an unwelcome surprise down the line, either.
Conclusion
Well, it’s a tricky business getting rid of cured potting material from electronics- but don’t despair – it can be done! It takes some careful maneuvering, though, to make sure your equipment isn’t harmed in the process.
First off, think about what type of potting material is involved so you know how to approach removing it. For instance, thermosetting materials are more challenging for customers than thermoplastic ones, given their sticky construction.
Now that you’ve figured out what needs doing next go ahead and get onto the removal part- this could include cutting or grinding with mechanical methods or tackling them with solvents or heat instead. At all times, bear one thing in mind: safety comes first when dealing with electrics and chemicals – no two ways about it.
For more about choosing the best cured potting material for electronics, you can pay a visit to DeepMaterial at https://www.epoxyadhesiveglue.com/category/epoxy-adhesives-glue/ for more info.